
Chapter 15
Product Rendering Workflow
Once you’ve chosen a 3D rendering agency, it’s time to start work. The process may vary from company to company, but the core pillars remain the same.
Let’s check out the stages of a typical product rendering workflow at CGIFurniture.
1. Studying the Assignment
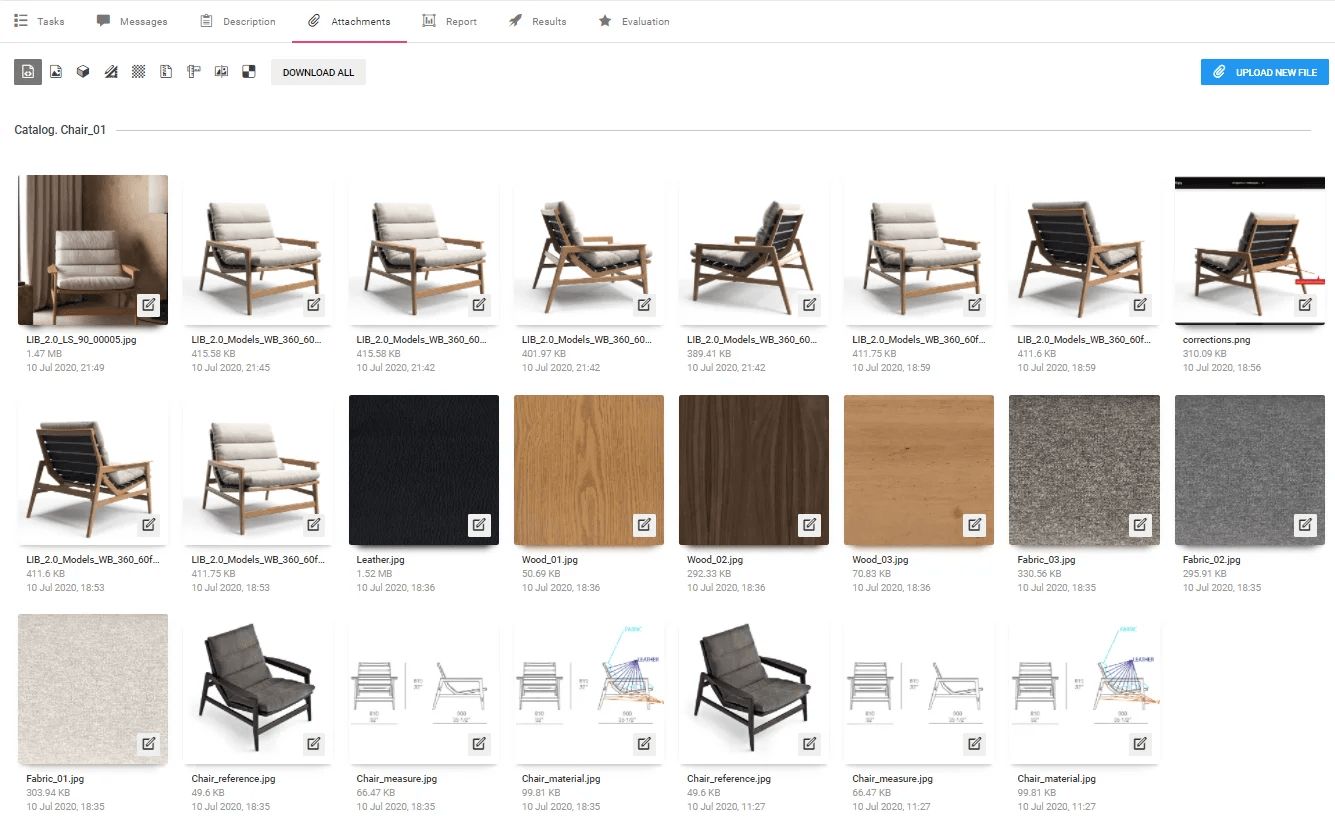
The CGI team examines the task description and documents attached, including references, drawings, CAD models. The more detailed a brief they get, the faster and smoother the project goes.
2. Building the 3D Scene
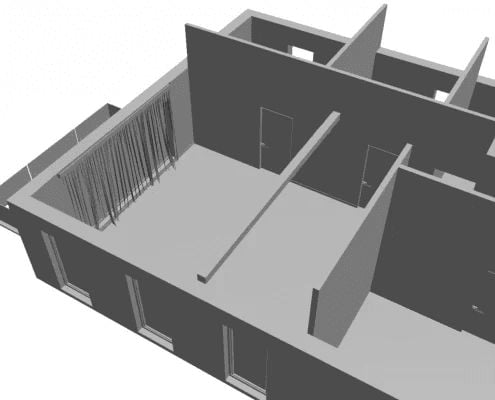
At this point, it’s time to work on the surroundings. When there’s a need for a brand-new custom scene for a product lifestyle rendering, we build it from scratch and then fill it with necessary objects.
Alternatively, we can use a ready-made scene from our CGI library. In that case, we’ll adjust the scene to fit the project’s requirements at later stages.
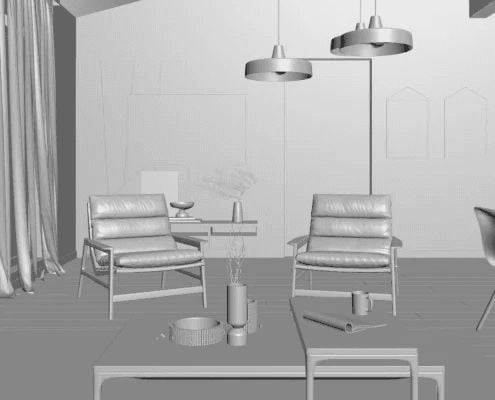
3. Main Product 3D Modeling
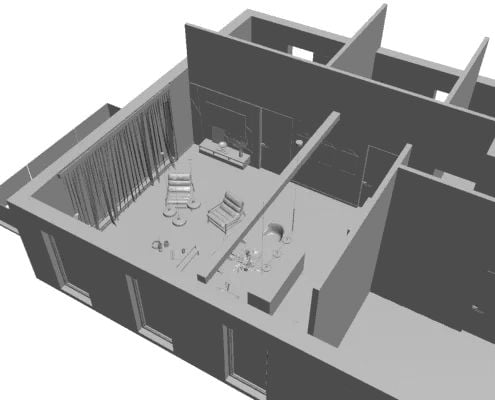
The next stage is 3D product modeling services. CGI specialists build a 3D model of the product and place it into the scene. At this stage, the model only has grayscale geometry, which makes it possible to see the shape and details of the object.
4. Setting Camera Angles
The CG artist chooses angles and composition. The task is to find the most flattering views for the main product and establish framing, symmetry, and other compositional elements.
5. Adjusting the Lighting
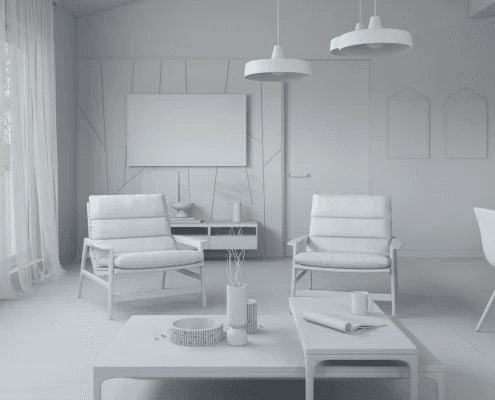
Now, it’s time to develop and implement the lighting strategy. The 3D artist sets the time of day, chooses light sources, arranges them, pre-renders the image, and looks at the result. If needed, he improves on something and pre-renders the image again and again. The goal is to help make the most of lifestyle rendering services. This means achieving the desired mood, ensuring ultimate realism, and presenting the main product at its best.
6. Applying Materials and Rendering
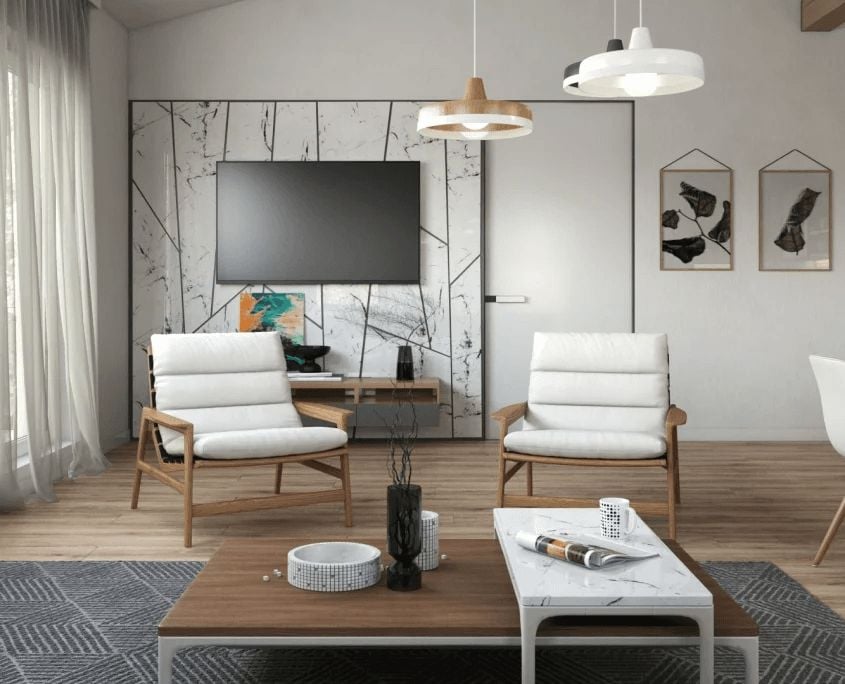
CG artists can create custom textures based on references or download the ready ones if they find exactly what the client wants. To understand how the materials will look, they set some basic lighting in the 3D rendering scene.
Then, it’s time to choose the resolution, format and click “render”. The duration of the rendering process depends on the settings, complexity of the scene, and the required quality. To speed the rendering up for large-scale projects, 3D artists at CGIFurniture use our studio’s render farm.
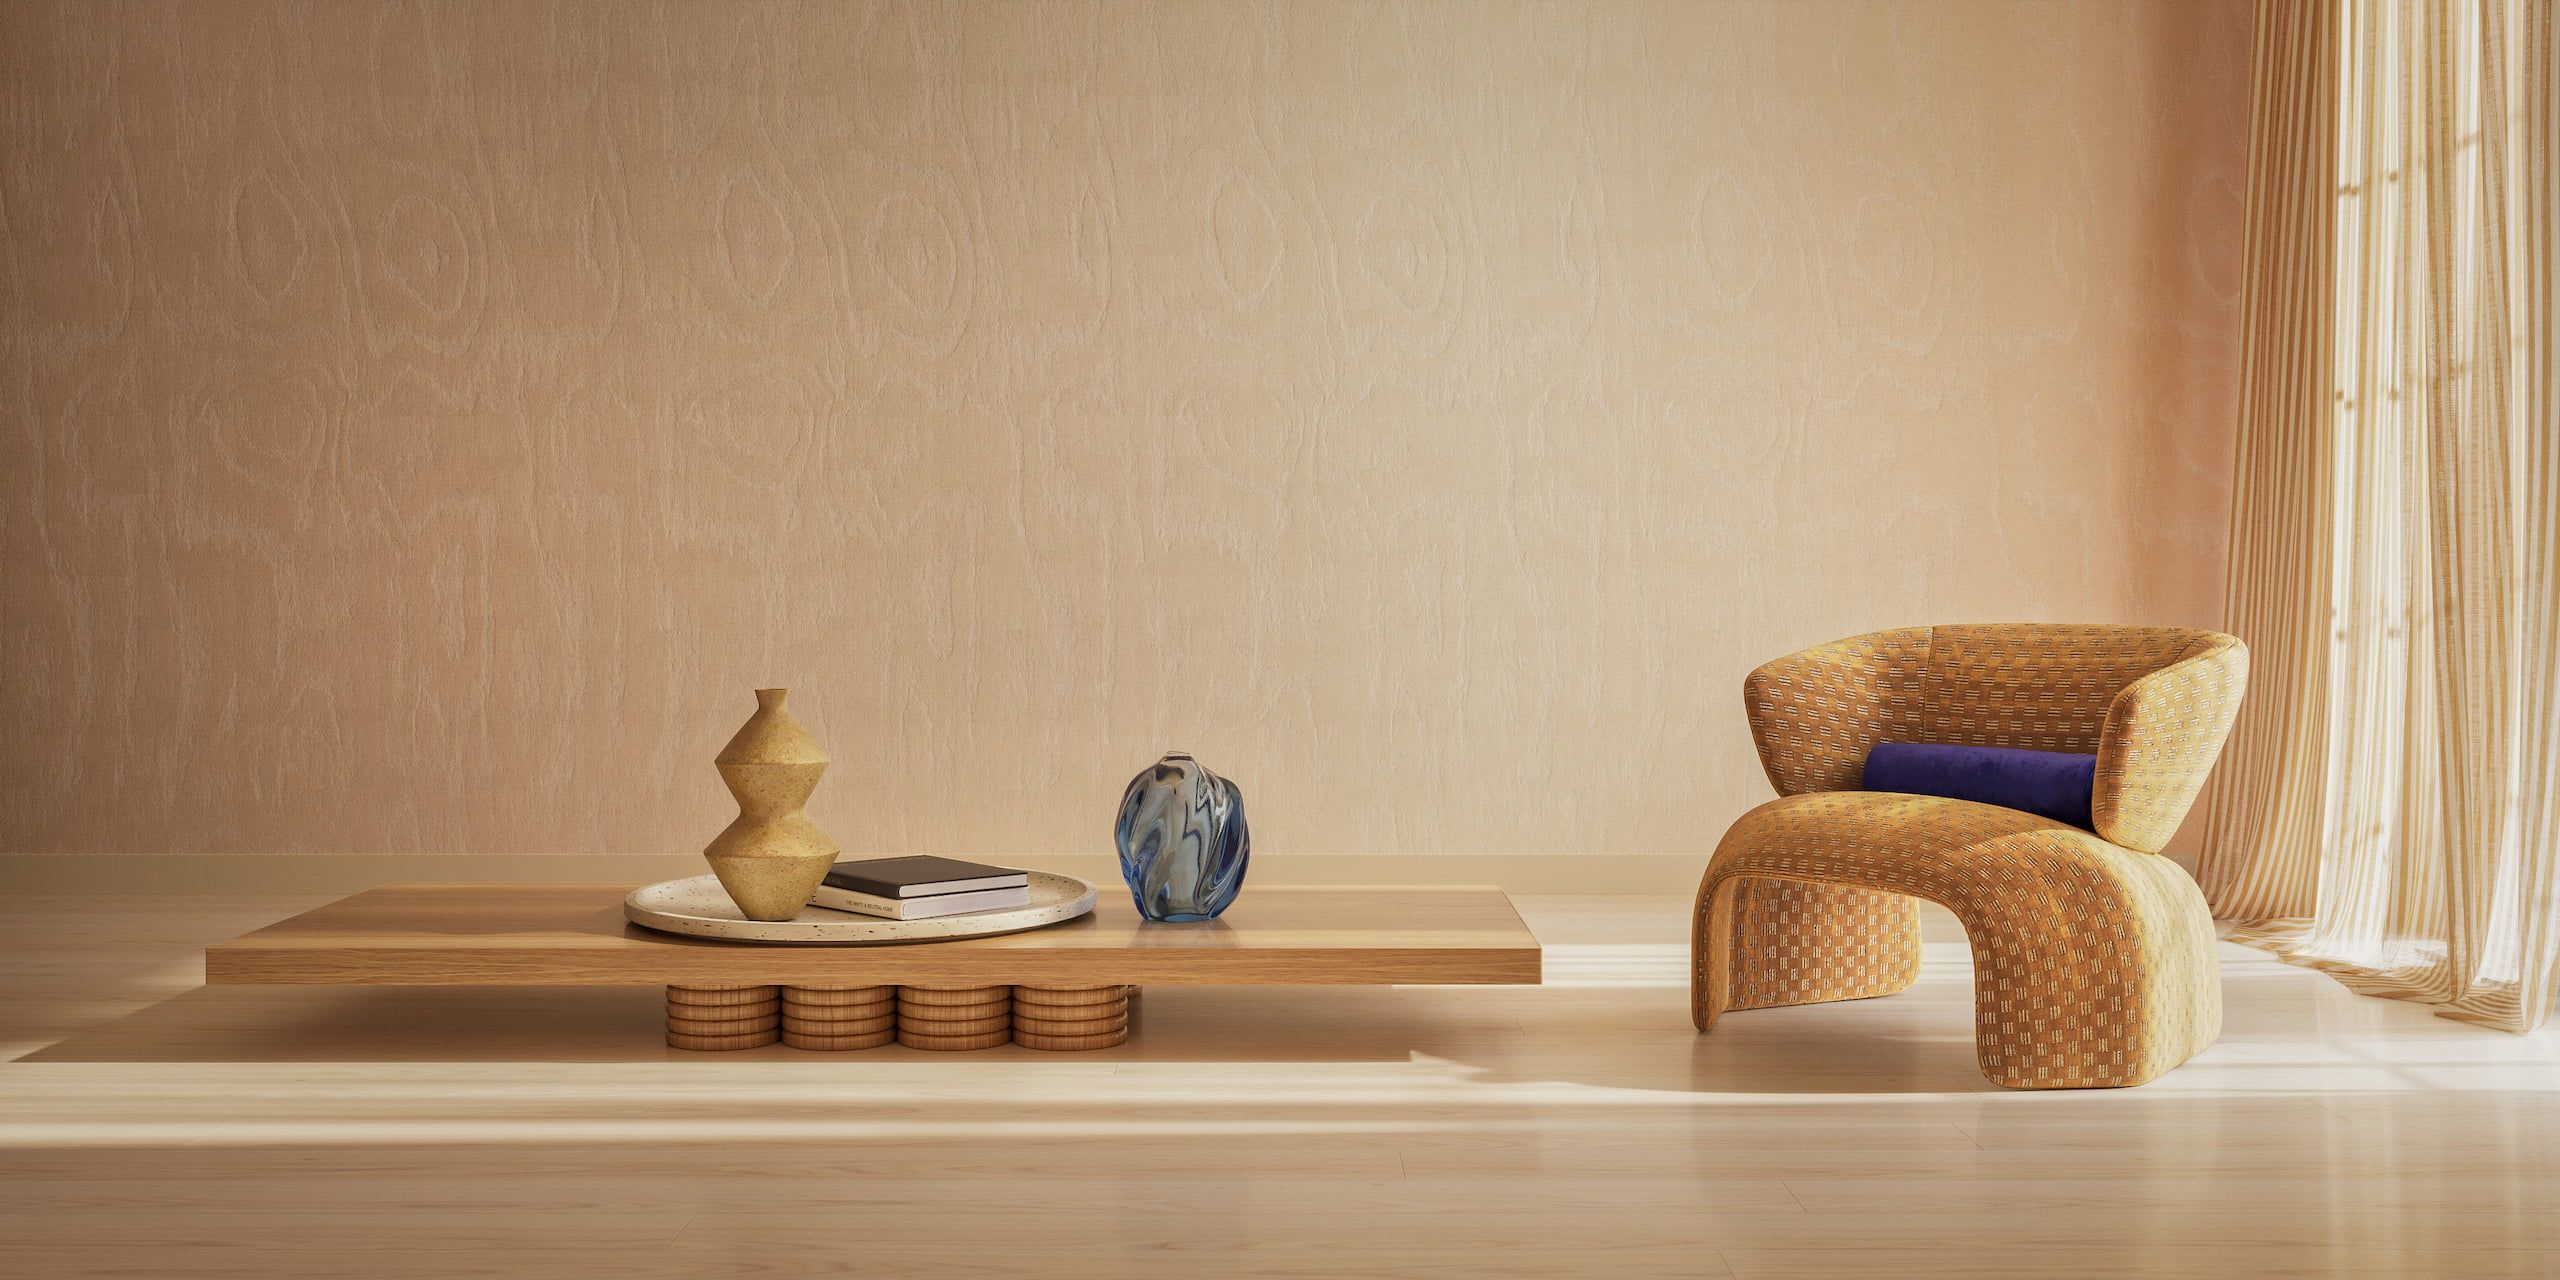
7. Post-production

When the product rendering is ready, the 3D artist can decide to enhance its impact. Using Adobe Photoshop, a 3D visualizer can add visual effects, apply filters to the image, adjust contrast, sharpness, brightness, and so on.
All that’s left at this point is to send the marketing-ready result to the client. You can learn more about every stage in our article about the product 3D rendering process. And now, let’s check out how to fill out the brief to get these amazing results faster.
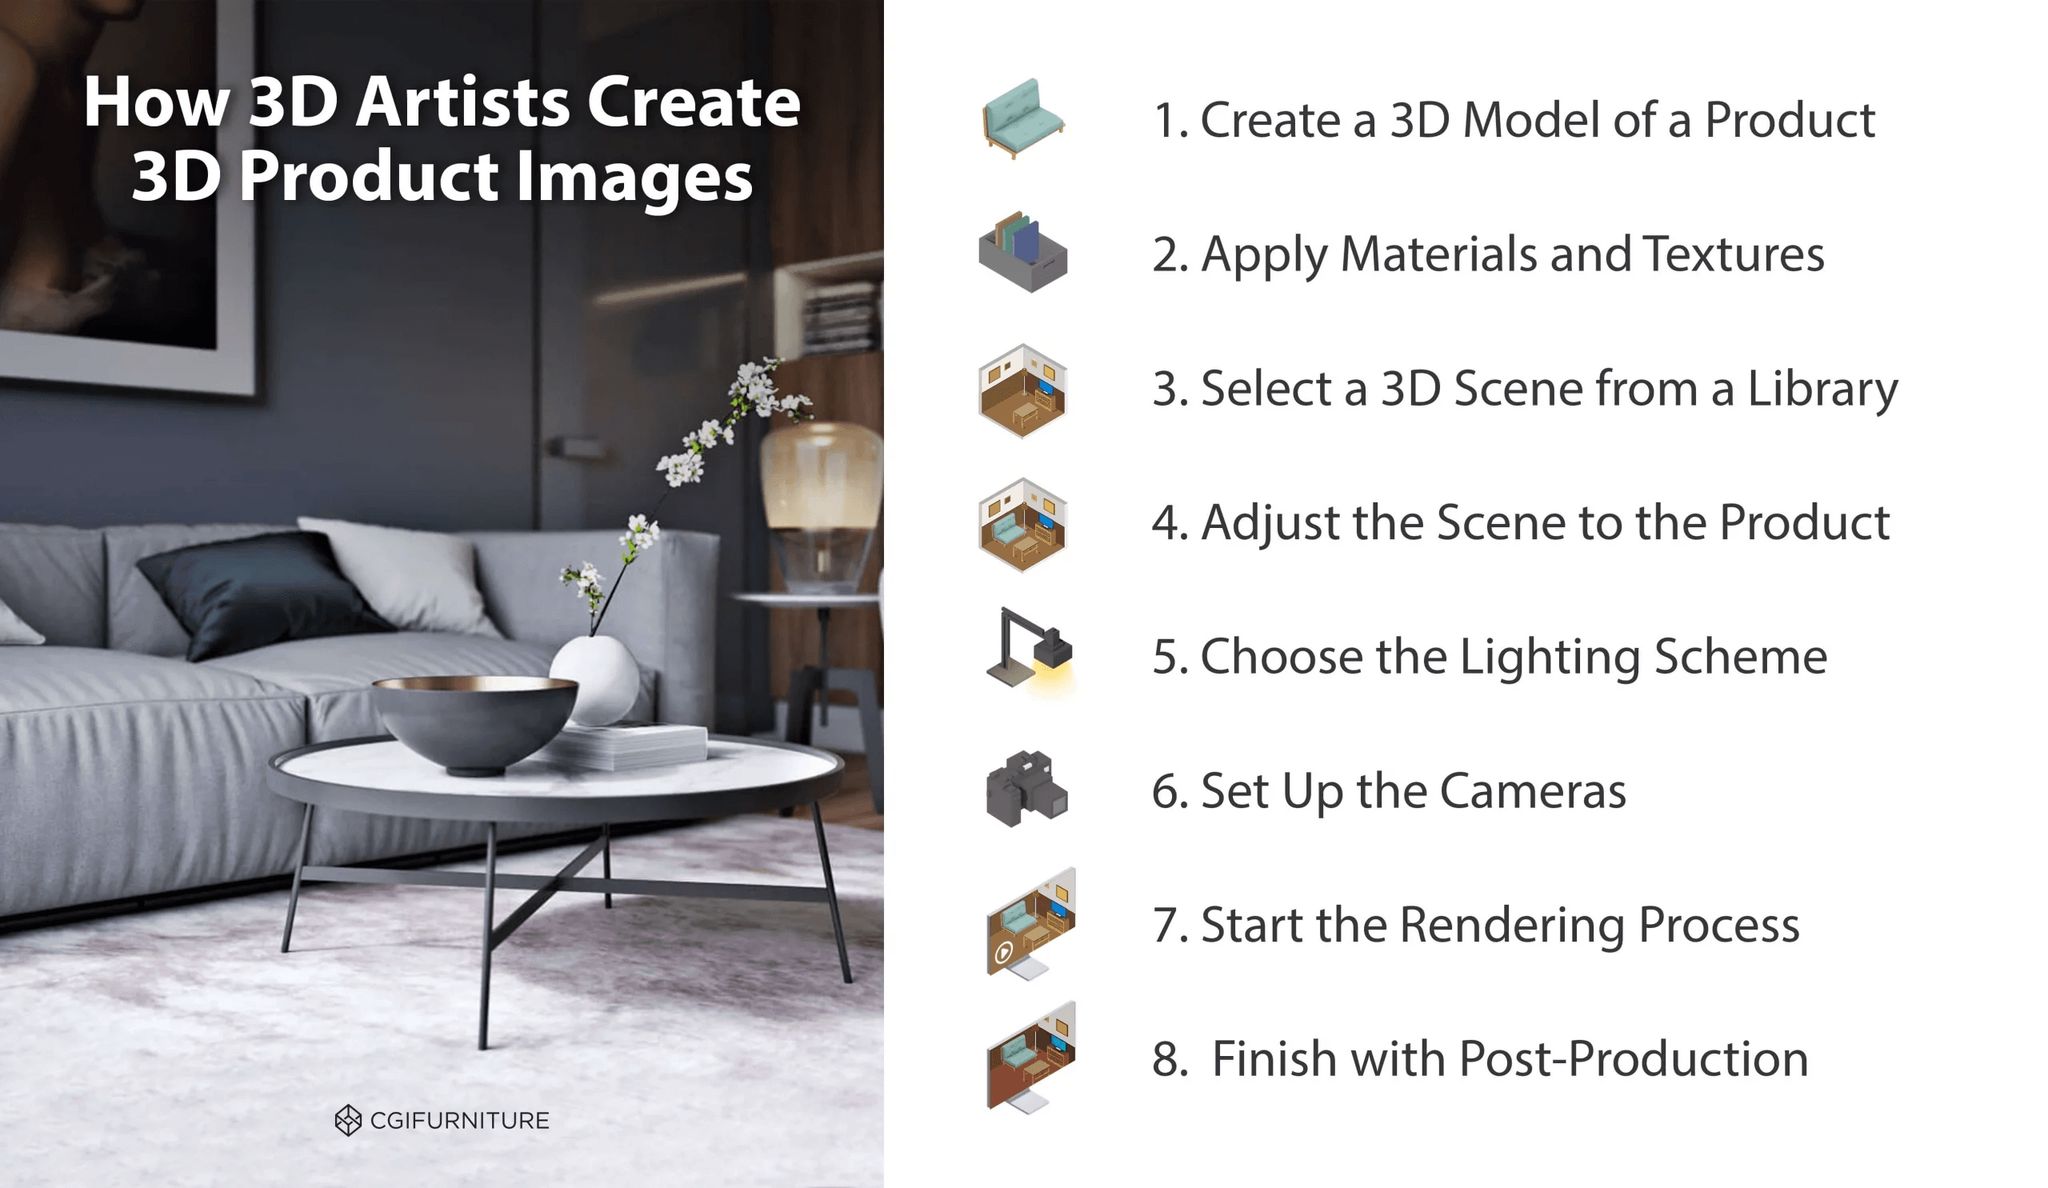
A product rendering workflow depends on many factors, like a CGI studio’s pipeline and the working process of a manufacturing or retail company. Generally, it includes 8 following steps: studying the brief, 3D modeling of the main product, building the lifestyle scene, application of the textures and materials, setting the lighting, camera angles, rendering, and post-production. When all those stages are completed, and the product render fits all the requirements, it can be used for marketing and sales materials.
Get the Commercial CGI & Product Rendering Guide for Marketing Directors
Everything you need to scale product content with CGI.
Get expert insights, real project examples, and strategies with proven ROI.
Fill out the form to receive the guide directly in your inbox.